

Ultimate Checklist for Home Theater Installation
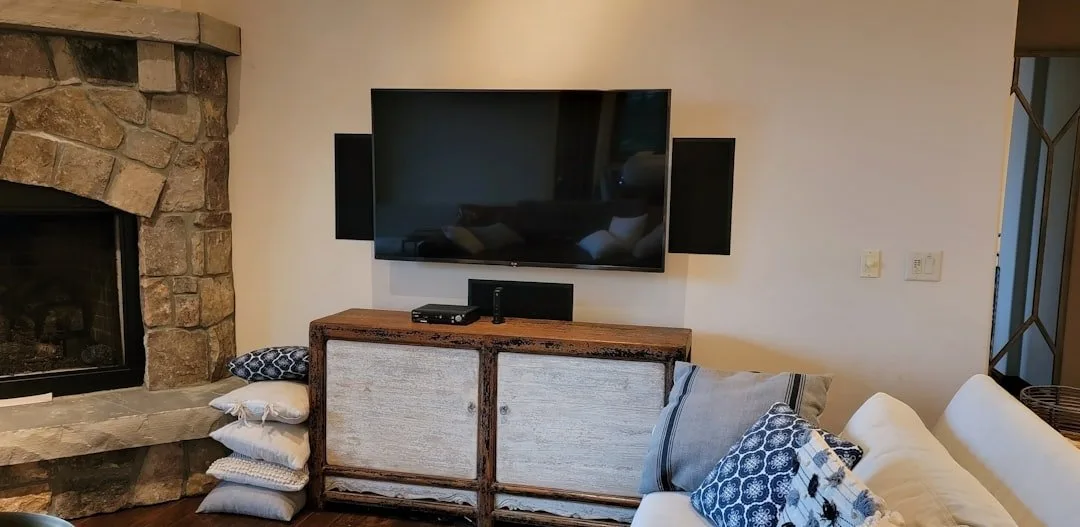
A well-executed home theater does more than fill a room with expensive gear — it turns a space into a private cinema, with acoustics, equipment, and automation working together. Full setups typically range from about $2,000 to $63,000, with many homeowners landing around $17,500 for a complete installation; professional labor generally runs $60 to $150 per hour depending on complexity. A well-designed theater room can also return roughly 65% of its cost in added home value.
Start With the Room, Not the Gear
The ideal theater room is rectangular, with minimal windows and doors. Basements have long been the default choice because they naturally block ambient light and noise, though bonus rooms, dedicated media rooms, and converted garages work well too. A few structural factors to plan around:
- Ambient light: windows are the biggest obstacle for projection systems — plan on motorized blackout shades or an Ambient Light Rejecting screen if the room has them.
- Ceiling height: tall ceilings accommodate large screens and tiered seating, but need careful speaker placement.
- Room proportions: dimensions close to a golden ratio, roughly 1 : 1.6 : 2.5, help distribute sound evenly and avoid standing waves.
Acoustics come down to three things: sound isolation (specialized drywall, sealants, and solid-core doors to keep audio in and outside noise out), acoustic panels (fabric-wrapped absorptive panels on side walls and ceilings to improve dialogue clarity), and bass traps in the corners to control boomy low-end.
Choosing the Display and Audio
Projectors and high-end TVs solve different problems. Projectors can scale past 200 inches diagonally and perform best in dark, controlled rooms, with the screen able to retract and the projector hidden in the ceiling. High-end OLED and micro-LED TVs top out around 97 to 115 inches but handle bright, multi-purpose rooms far better and deliver excellent contrast without needing the lights down.
For sound, modern systems are built around Dolby Atmos, which places audio in three-dimensional space rather than fixed channels. A typical layout includes a front stage of left, center, and right speakers (the center channel alone carries up to 80% of dialogue), surround speakers for side and rear depth, height or in-ceiling channels for overhead effects, and one or more subwoofers — multi-subwoofer setups, such as 7.2.4 or 9.4.6 configurations, help even out bass across every seat.
For source material, uncompressed 4K media servers and dedicated video processors that perform real-time HDR tone mapping deliver noticeably better image quality than typical streaming apps, which compress video heavily.
The Installation Sequence
Pre-wiring happens while walls are open, before drywall goes up. This means in-wall rated speaker wire, Cat6 for network stability, and fiber-optic HDMI cabling capable of carrying uncompressed 4K/120Hz or 8K signals over distance, plus solid wood blocking between studs to anchor heavy mounts and dedicated 20-amp circuits for amplifiers and projectors.
Mounting and calibration come next. Projectors are physically aligned to the screen rather than relying on digital keystone correction, which degrades image quality. Speakers go in-wall or in-ceiling behind paintable grilles. Calibration software such as Dirac Live, Audyssey, or Trinnov measures the room’s acoustic response and adjusts crossovers, delays, and EQ accordingly.
Smart integration ties it together — one button press can lower the shades, dim the lights, power on the projector, and pull up your library, no stack of remotes required.
Timelines and Standards
A basic multi-purpose media room typically takes 1 to 2 days to install. A dedicated cinema room with acoustic treatment and calibration runs 3 to 5 days. A full custom build coordinated with new construction can span several weeks or months. Professional installers working to CEDIA standards address structural safety and thermal management; ISF and THX calibration ensures color accuracy matches what the director intended; and in California, in-wall wiring should use CL2 or CL3 fire-rated cable with mounts rated for seismic activity.
For a viewing distance rule of thumb, divide your seating distance in inches by 1.5 to get the ideal screen diagonal. At 12 feet, or 144 inches, back, that works out to a 96-inch screen — so a 100 to 110 inch screen sits comfortably in the immersive range without causing eye strain.
If you’re planning a theater room and want a second opinion on layout, acoustics, or equipment before committing to a design, we’re glad to walk through it with you.